

I’ve handled uncooked chicken before but never unclean and unprepped. There’s always a first time. It helps that, in the kitchen and with food in general, I’m very rarely squeamish, unless I’m working with something that stinks to high heavens. Chicken, to my surprise, does not.
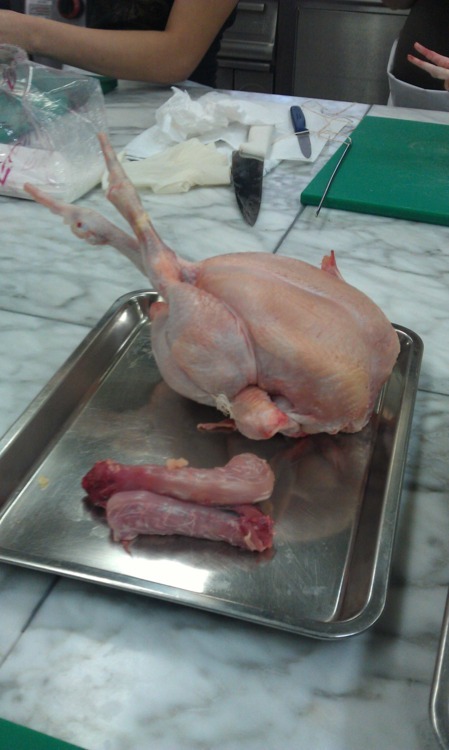
I pull out stray feathers and dip the claws in hot water to make the “socks” come off easily. I trim the nails. Chef Kyla tells us that the French would cut off the side claws and leave only the one on the middle. I do the same. My chicken looks like it’s giving me the finger. It can’t be blamed. After all, I was about to slip my hand onto its bottom cavity to pull out the remaining innards. Most of the giblets had been taken out so the work entailed mostly wiping off gunk and blood with the use of a napkin.
We move on to the neck area. I cut off as much of the neck as I could without cutting or puncturing the skin. I pull out its intestine, which clings to the inside part of the skin. I clean out all the fat. When I am done with the skin, I move on to the wishbone, which keeps the two breasts together and makes chopping more difficult that it should be. Using the end of my knife, I trace the wishbone at the top of the breastbone just to make it easy to pry it loose. I use my thumb and index finger to finish the job but the bone breaks. I dig in and manage to get the rest of the bone out.
Now to prepare for trussing. I tuck the wings behind the chicken’s back so that my fowl actually looks like it was resting on its wings. Then I cover the upper cavity with its flap of skin.
I cut about a yard of kitchen string and insert it into my trussing needle, leaving the ends untied. I lay my chicken on its back, cross its legs and press its knees to its lower breast. Behind the knees, I insert my needle, letting it through to the fleshy part near the tailbone, tucking in the chicken’s ass and continuing on to the other side, pulling the needle but leaving enough string at the opposite side for later knotting. I pull both ends together to make sure everything is nice and tight. Staying on the same side, I move to the top part, inserting the needle between the two wingette bones. I work it all the way through to the breast and out the other wingette. Now both ends are on the same side. Pull both ends together to make sure the trussing is solid then tie the ends together in a knot.
Trussing is important when you’re roasting chicken because it allows the parts to cook uniformly. If certain parts are dangling, they have a tendency to cook unevenly, with some parts burnt.
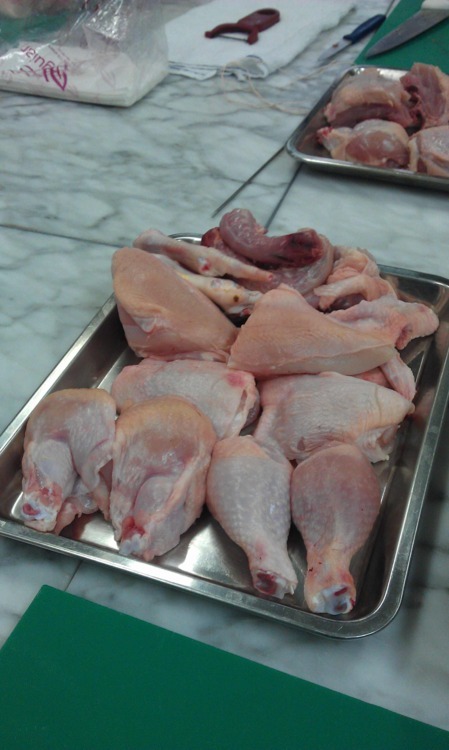
Chef Kyla also shows us how to make the classic French eight cut. First, I cut off the shank and claws. Then I cut the skin between the thigh and the breast so that the bone socket is exposed. I sever the joint with my knife and pull the entire leg off the chicken by hand. I cut the leg into two from the joint, separating the drumstick from the thigh. I do the same on the other side. I cut the entire wings off including the drummettes. Chef Kyla tells us the wings are not typically used in French cooking. I run my knife along the edges of the rib bone and pull off the entire network of bones connected to the spine. I turn the breast to the other side so that I could see the bone separating the two breasts. I remove it; it comes off easy with little prying. This made it very easy to separate the two breasts. I further cut the pieces into two, diagonally, so that there’s almost the same amount of meat in the plump top part and the less meaty bottom.
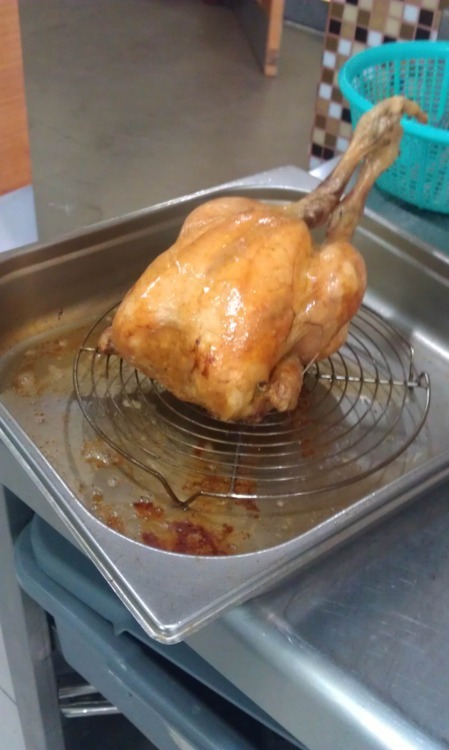
While we were practicing on our chicken, Chef Kyla preps one for roasting. She gave one very helpful tip, which is to butter the skin 10 minutes before the chicken gets fully cooked so that the skin browns without burning.

No comments:
Post a Comment